Hoki Maru
7.3537°N 151.9134°E · wreck
Hoki Maru
The “Bulldozer Wreck” — a 137.5-meter Scottish-built cargo ship whose holds are packed with bulldozers, trucks, aircraft engines, and military hardware, sitting upright on sand with visibility often exceeding 30 meters.
Overview
The Hoki Maru began life as MV Hauraki, built by William Denny & Brothers in Dumbarton, Scotland, launched November 28, 1921 for New Zealand’s Union Steam Ship Company as their first diesel-powered vessel. She was 7,113 tons gross and 137.5 meters (450.3 ft) long. In 1940 she was requisitioned by the British Ministry; on July 12, 1942 she was captured by Japanese armed merchant cruisers and renamed Hoki Maru on December 31, 1942. She arrived at Truk Lagoon in February 1944. On February 17, 1944, during Operation Hailstone, she was torpedoed by an Avenger from USS Bunker Hill around 12:45 PM, igniting cargo fires. She burned and sank upright onto a sandy bottom, where she remains today at a maximum depth of approximately 49 meters.
Known universally as the “Bulldozer Wreck,” the Hoki Maru is famous for the extraordinary variety of military cargo preserved in her holds. Hold 5 contains bulldozers, tracked vehicles, steamrollers, compressors, six trucks, tractors, and mesh rolls. Hold 4 houses aircraft engines, depth charges, artillery shells, drums, and spare propeller components. The wreck sits upright with the bridge at 25 meters, the bow at 36 meters, and the stern at 30 meters. Visibility is typically excellent, often exceeding 30 meters, providing clear views of the cargo that makes this one of the most photographed wrecks in Chuuk Lagoon.
Site Information
- Location: Chuuk Lagoon, Chuuk State, Micronesia
- Entry Type: Boat dive
- Site Type: Wreck dive
- Difficulty Level: Advanced
- Maximum Depth: 49 meters
- Typical Visibility: 30+ meters (100+ feet)
- Current: Generally mild inside the lagoon
- Best Time: Year-round; December to April offers calmest conditions
Marine Life
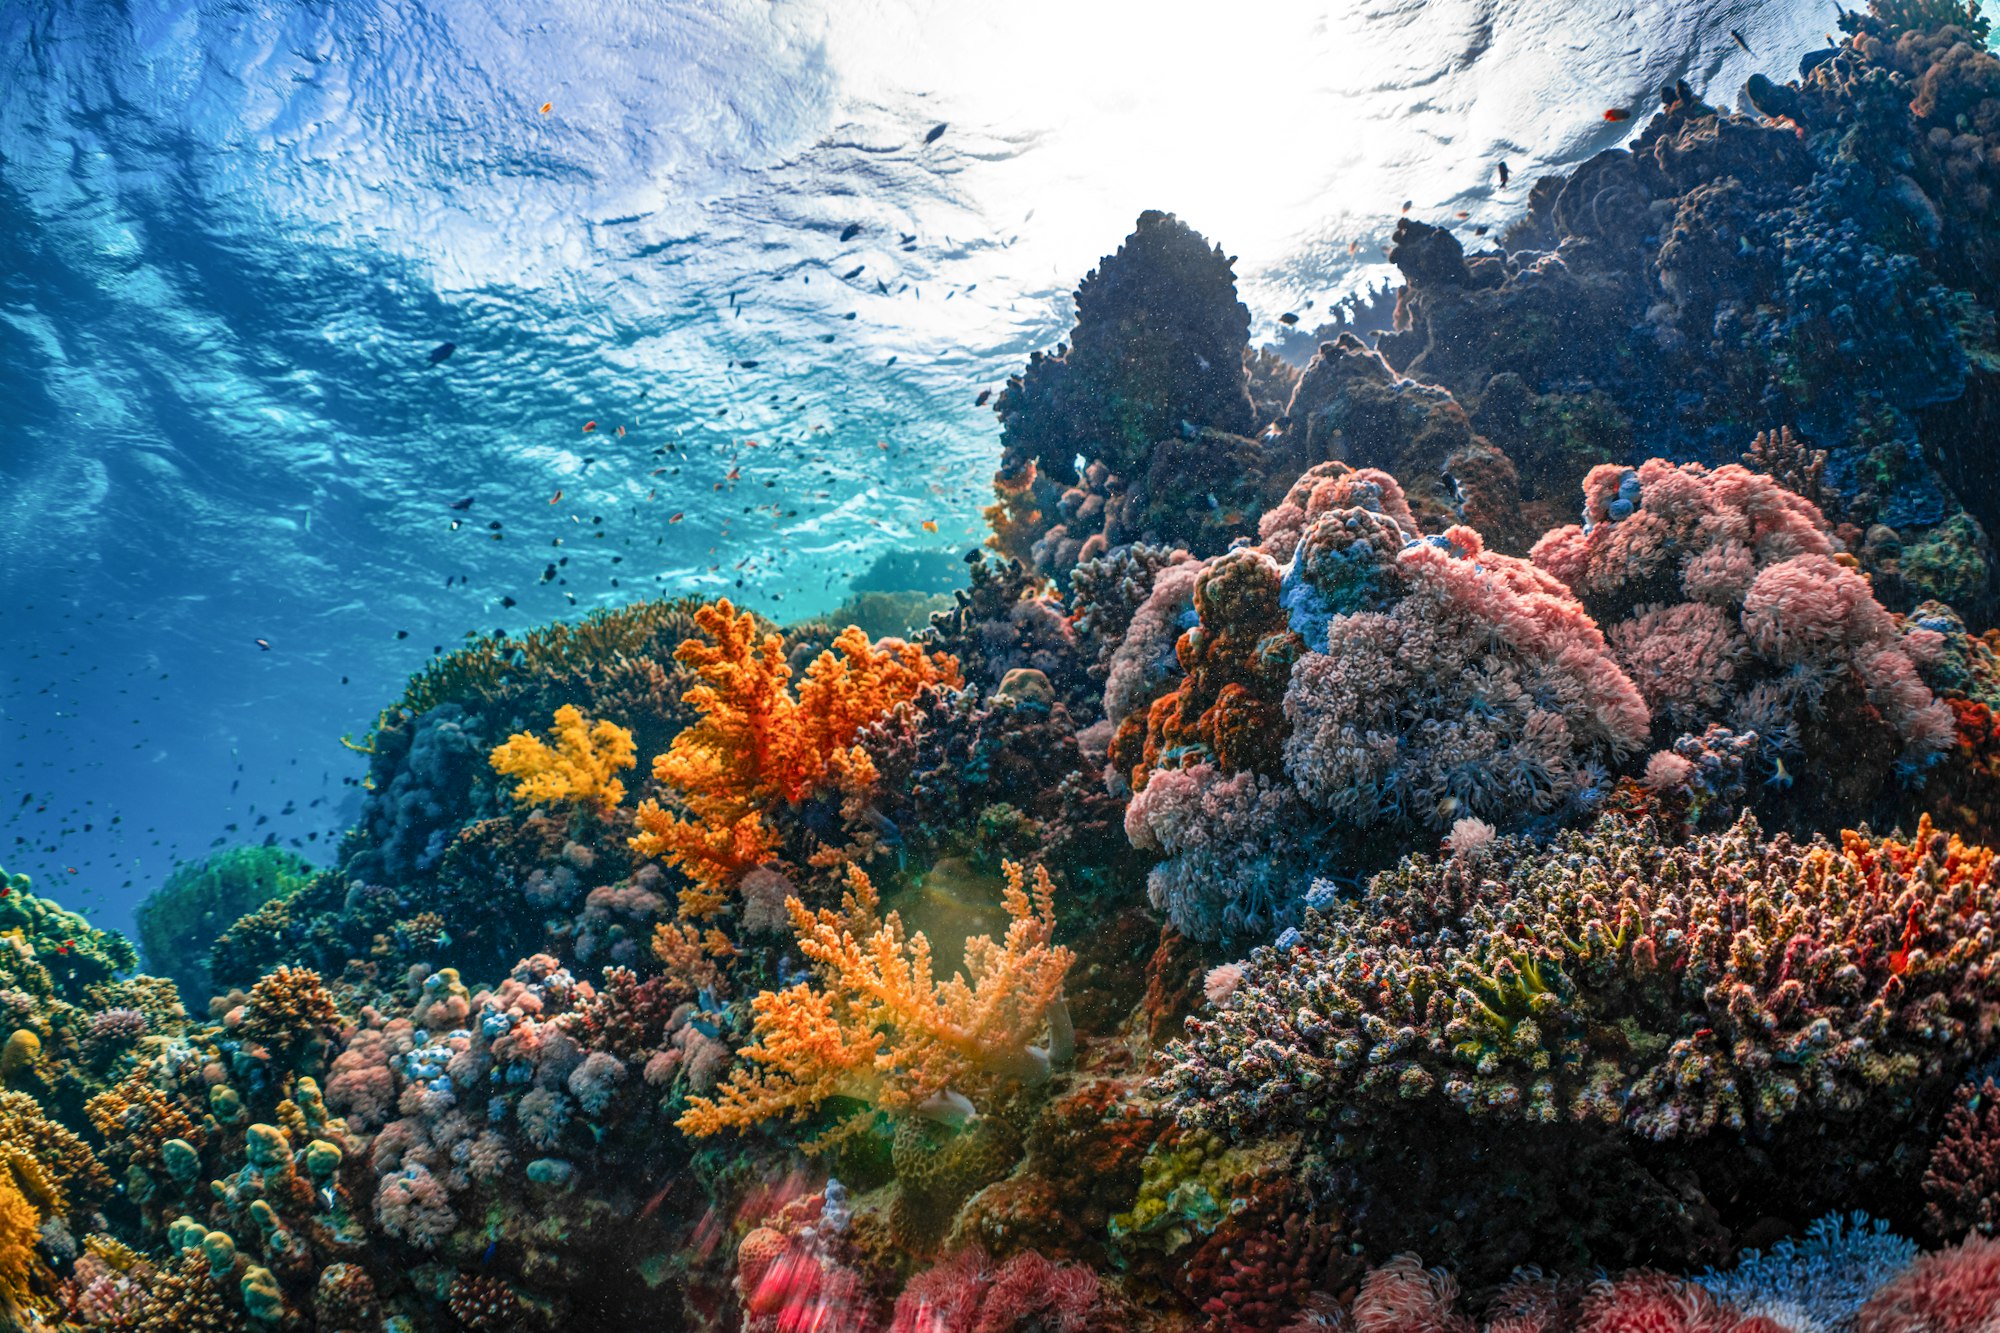
The Hoki Maru’s upright position and large deck area support extensive coral colonization. The superstructure, masts, and king posts are covered in hard and soft corals and sea fans. Schools of fusiliers and jacks patrol the mid-water around the wreck profile. Glassy sweepers fill the darker interior spaces of the holds, shimmering in torch beams. Lionfish and scorpionfish are found throughout the wreck in overhangs and shadowed areas. The surrounding sand supports garden eels and occasional stingrays.
Dive Profile
The bridge at 25 meters is the shallowest significant structure and a good starting point for orientation. The holds are the main attraction — bulldozers, trucks, and aircraft engines can be viewed from the hold openings or with careful entry. The cargo sits at various levels within the holds, with the deepest items approaching the 49-meter bottom. The stern at 30 meters and the bow at 36 meters bookend the wreck and offer additional exploration. An efficient dive plan focuses on the cargo-packed holds at their upper levels first, then works along the deck, saving the shallower bridge superstructure for the end of the dive to extend bottom time.
Entry and Exit
Access is by dive boat from Weno-based operators, with a 20-40 minute ride. A permanent mooring marks the site. Entry is by giant stride. Descend along the mooring line to the wreck. The excellent visibility usually allows the wreck to be seen from partway down the descent. Surface at the mooring line or deploy an SMB. Lagoon conditions are generally calm.
Tips and Recommendations
- The bulldozers in the holds are the signature feature — ensure your dive plan allocates adequate time to see them
- The holds are large and reasonably well-lit from above, but carry a torch to illuminate the deeper cargo details
- At 25 meters, the bridge provides a useful shallower area for extending the dive after deeper hold excursions
- Visibility is typically outstanding (30+ meters) — wide-angle photography is highly rewarding here
- Multiple dives are recommended to appreciate the full range of cargo — the variety is exceptional
- Nitrox significantly extends useful bottom time at the 25-30 meter deck and bridge level
Safety Considerations
The Hoki Maru is a war grave — removing any artifacts is strictly illegal under Chuuk State law. The holds contain depth charges and artillery shells, which are live ordnance — do not touch or disturb any cargo under any circumstances. The maximum depth of 49 meters places significant portions of the wreck in technical diving territory; mandatory decompression may be required if exploring the deeper hold levels. The upright position makes the wreck layout relatively intuitive, but hold penetration still requires wreck training, proper equipment, and redundant lights. Maintain excellent buoyancy to avoid disturbing silt, particularly inside the holds where careless fin kicks can obscure the very cargo you came to see.
Photography
The Hoki Maru is one of Chuuk’s most photogenic wrecks. The bulldozers, trucks, and aircraft engines in the holds are immediately recognizable subjects that tell a powerful historical story. The typically superb visibility (30+ meters) supports wide-angle compositions that capture the scale of both the wreck and its cargo. The bridge at 25 meters receives good ambient light for natural-light shots. Strobes bring out the colors of coral encrustation on the superstructure and the details of the military hardware in the holds. The variety of cargo means multiple dives can yield distinctly different photographic portfolios.
Sources: Michael McFadyen’s Scuba Diving - Hoki Maru, Argunners - Hoki Maru, truk-lagoon.com - Hoki History, Dirty Dozen Expeditions - Wrecks Above 40m. Last updated 2026-05-22.
Sea-surface temperature and wave height from Open-Meteo Marine (ERA5 reanalysis, monthly averages).
1480 verified species observations (178 species) logged within ~11 km of this site between 1956 and 2014, from the Ocean Biodiversity Information System.
- Ctenochaetus striatus · Small-bodied acanthurid
- Scaridae · Small-bodied parrotfish
- Chlorurus sordidus · Small-bodied parrotfish
- Hipposcarus longiceps · Large-bodied parrotfish
- Scarus psittacus · Small-bodied parrotfish
- Chlorurus bleekeri · Small-bodied parrotfish
- Chordata
- Scarus rivulatus · Small-bodied parrotfish
- Monotaxis grandoculis · Large-bodied emperor
- Siganus doliatus · Rabbitfish
- Mulloidichthys flavolineatus · Goatfish
- Scarus globiceps · Small-bodied parrotfish
Scientific survey records skew toward sampled taxa (molluscs, corals) and do not reflect what you are guaranteed to see on a dive.
Source: OBIS (obis.org), aggregated Darwin Core occurrence records.
Conditions change with the tide and the season. If you have dived this site, share what it was actually like — date, visibility, current, and what you saw. Real, recent reports from divers are exactly what this guide is built to collect.
Send a conditions report ›