Kiyosumi Maru
7.3738°N 151.8437°E · wreck
Kiyosumi Maru
A large armed merchant cruiser lying on her port side, with gun mounts still in place, torpedo holes in the hull, and a cargo including bicycles and spare propeller blades.
Overview
The Kiyosumi Maru was a large passenger-cargo vessel built in 1934 by Kawasaki Dockyard in Kobe, originally operated by Kokusai Kisen Kabushiki Kaisha. Note: sources give conflicting dimensions — tonnage figures range from approximately 8,613 to 8,614 tons, and length figures range from approximately 137 to 140 meters across different sources. She was requisitioned by the Imperial Japanese Navy in November 1941 and converted into an armed merchant cruiser — fitted with gun mounts, fire control equipment, and defensive armament. She was already undergoing repairs at Truk when Operation Hailstone struck on February 17—18, 1944. Hit by U.S. dive bombers, she sank and now lies on her port side with the starboard hull at approximately 14—15 meters and the deepest point at 30 meters.
The Kiyosumi Maru stands out among Chuuk’s wrecks for her military conversion features. Gun turrets and anti-aircraft mounts remain in position, distinguishing her from the unarmed transports. Large torpedo holes are clearly visible in the hull at approximately 30 meters, telling the story of her final moments. The holds contain bicycles (parts of two bikes in Hold 5) and two massive spare propeller blades in Hold 6, along with shells and other military supplies — a fascinating time capsule of Pacific War logistics.
Site Information
- Location: Chuuk Lagoon, Chuuk State, Micronesia
- Entry Type: Boat dive
- Site Type: Wreck dive
- Difficulty Level: Intermediate
- Maximum Depth: 30 meters
- Typical Visibility: 15-30 meters (50-100 feet)
- Current: Generally mild inside the lagoon
- Best Time: Year-round; December to April for calmest conditions
Marine Life
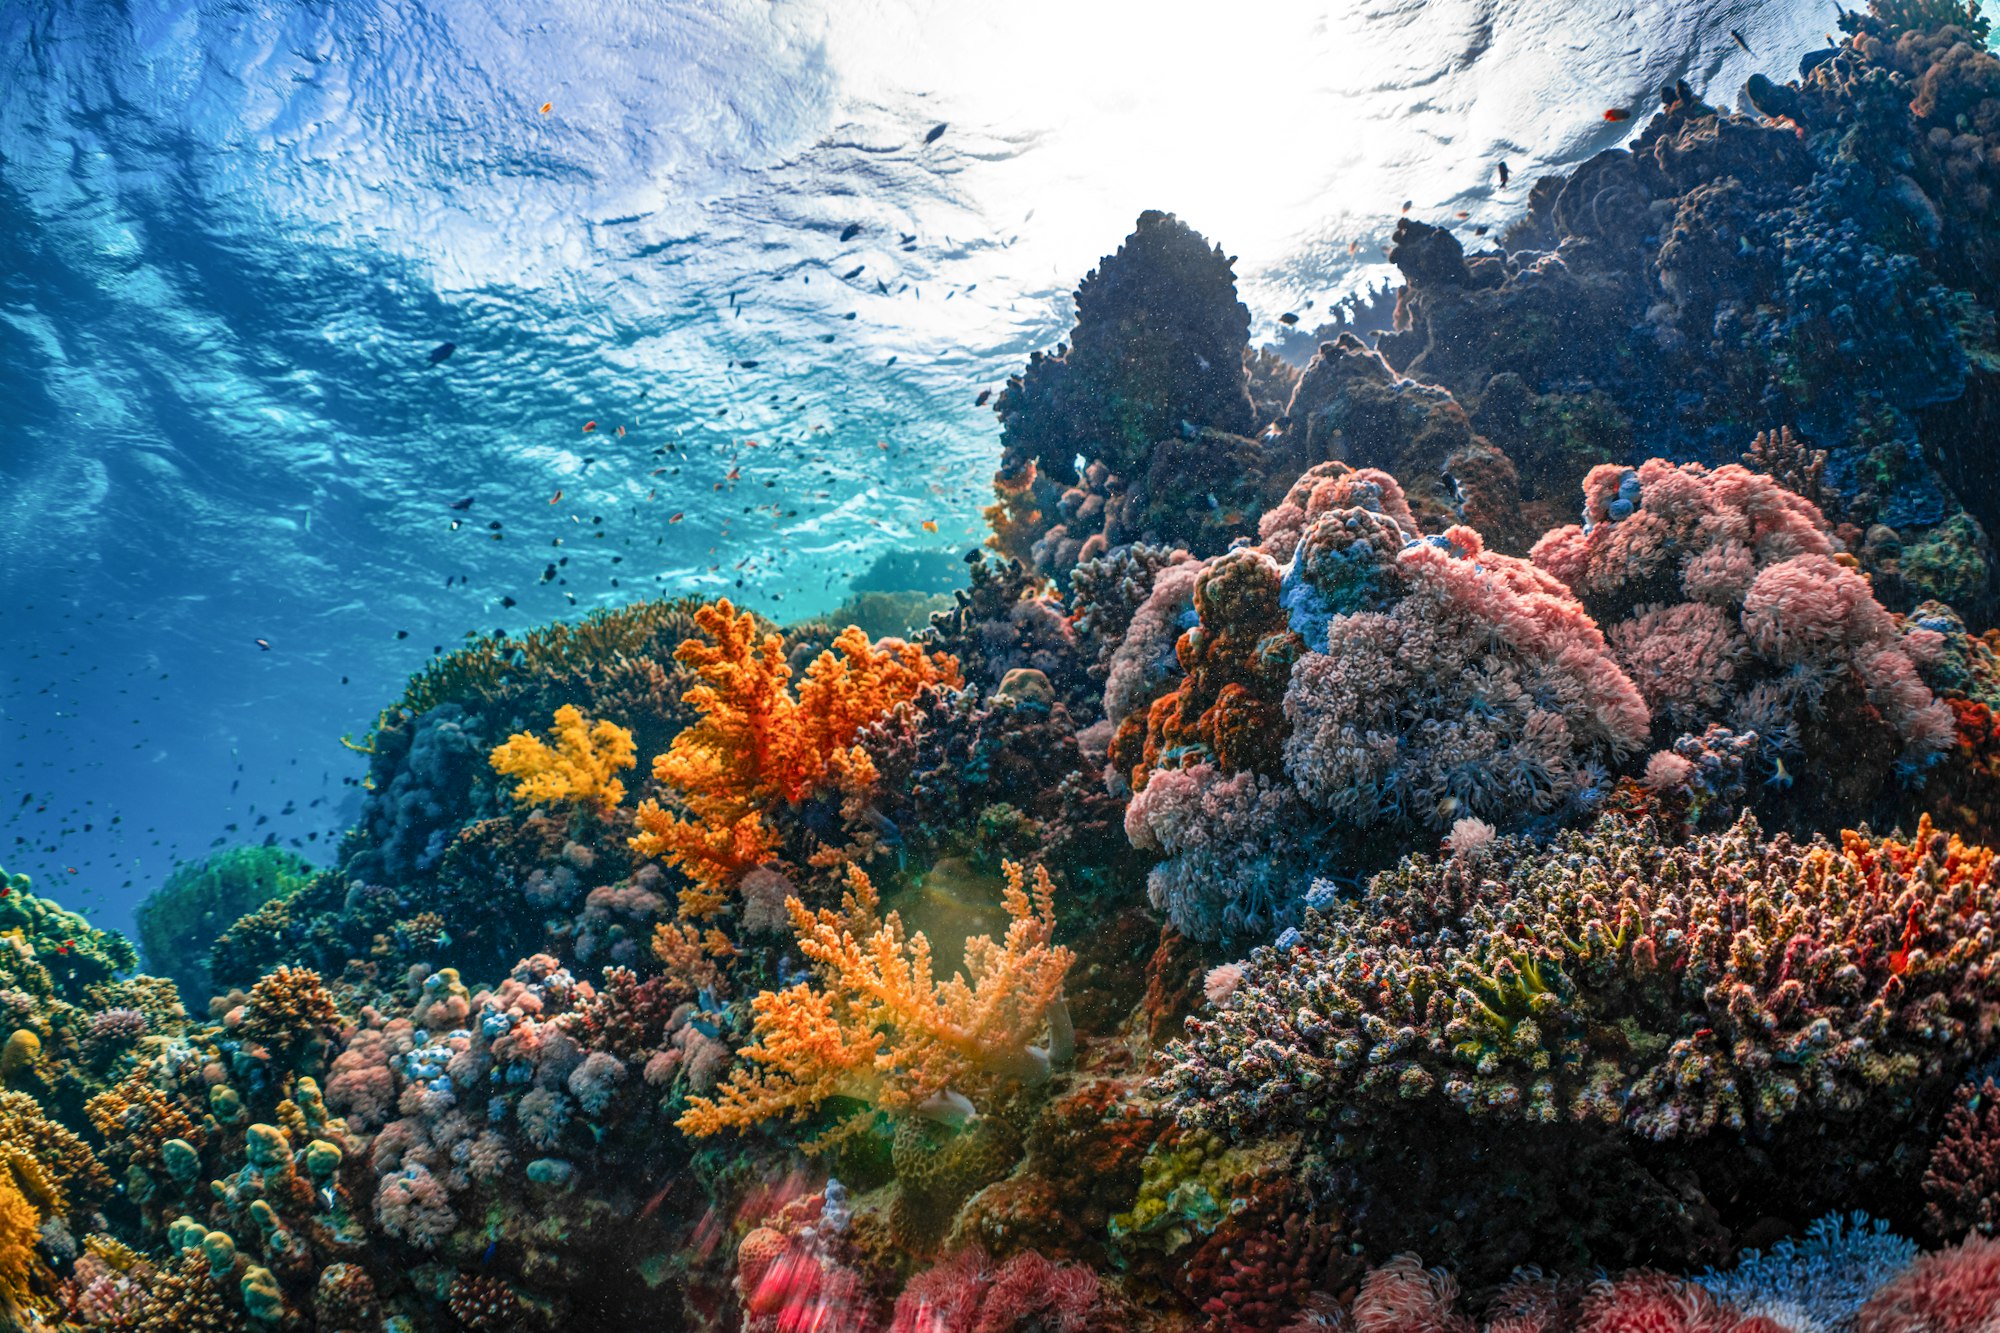
The Kiyosumi Maru supports a well-developed reef community across her upper works. Hard corals and sea fans cover the gun mounts, railings, and superstructure, softening the military hardware with decades of organic growth. Soft corals in reds and purples add color to the masts and king posts at shallower depths. Sponges and tunicates encrust the hull plates.
Schools of batfish are a reliable presence around the bridge area. Jacks and trevally patrol the open water nearby. Inside the holds, glassy sweepers congregate in dense formations. Lionfish and scorpionfish hide among the cargo and structural beams. The gun mounts attract cleaning station fish. Whitetip reef sharks are seen resting beneath the hull overhang. Nudibranchs and flatworms can be found on the encrusted surfaces for macro enthusiasts.
Dive Profile
The wreck lies on its port side, so the starboard hull faces upward at approximately 14—15 meters — this is the entry point and shallowest accessible structure. The gun turrets and anti-aircraft mounts are visible on what was the deck, now facing to the side. Explore the port-side exterior at depth (approximately 25—30 meters) to see the large torpedo holes, which are among the most visible examples of battle damage on any Chuuk wreck.
The bridge superstructure amidships is accessible with ship’s fittings and navigation equipment. The holds contain the most interesting cargo: Hold 5 has bicycle parts and Hold 6 contains two massive spare propeller blades. Anti-aircraft guns, gun turrets, and shells are distributed throughout. The side-lying orientation means interior navigation is more disorienting than on upright wrecks. The maximum depth of 30 meters at the lagoon floor makes this wreck accessible for experienced recreational divers.
Entry and Exit
Boat dive from Weno-based operators, approximately 20-30 minutes to the site. A permanent mooring buoy is in place. Enter by giant stride and descend the mooring line to the deck. The lagoon location provides calm surface conditions. Ascend via the mooring line for your safety stop at 5 meters.
Tips and Recommendations
- Start at the gun turrets — they are distinctive military hardware that sets this vessel apart from the unarmed merchant fleet
- Swim the exterior port hull at depth to view the torpedo holes; among the most dramatic battle damage visible on any Chuuk wreck
- The large propeller blades in Hold 6 are a highlight — ask your guide for their exact location to save bottom time
- The side-lying orientation requires mental spatial adjustment — dive with a guide on first visits
- Nitrox extends bottom time comfortably at the 14-15 meter starboard hull level
- This wreck is less crowded than the Fujikawa Maru or Shinkoku Maru, making it a good choice when multiple boats are on the popular sites
Safety Considerations
The Kiyosumi Maru is a war grave and artifact removal is illegal under Chuuk State law. The gun mounts and military hardware should be observed but not climbed on or manipulated. The holds contain miscellaneous military cargo that must not be disturbed. The side-lying orientation is the primary navigation hazard — spaces are rotated 90 degrees from their original configuration, increasing disorientation risk in enclosed spaces. Silt in the holds can reduce visibility rapidly — maintain good buoyancy and trim. The torpedo damage areas may have weakened hull structure; approach for viewing but avoid entering the blast holes. Interior penetration beyond the open holds and bridge requires wreck certification and redundant lights. The 30-meter maximum depth is manageable for experienced recreational divers but demands standard gas management discipline.
Photography
The gun turrets and anti-aircraft mounts are the signature photographic subjects — wide-angle shots with a diver for scale tell a powerful story. The torpedo holes in the port hull provide dramatic wide-angle compositions showing raw battle damage. Inside the holds, the large propeller blades and bicycle remnants make unusual still-life subjects — use strobes to bring out detail in the darker lower holds. The bridge area offers good artifact close-ups. The starboard hull at 14—15 meters receives good ambient light for natural-light wide-angle work. The side-lying orientation creates unusual compositional angles compared to upright wrecks.
Sources: Dive3D - Kiyosumi Maru, Argunners - Kiyosumi Maru, TracesOfWar - Kiyosumi Maru, Pete LePage - Kiyosumi Maru. Last updated 2026-05-22.
Sea-surface temperature and wave height from Open-Meteo Marine (ERA5 reanalysis, monthly averages).
2548 verified species observations (178 species) logged within ~11 km of this site between 1949 and 2014, from the Ocean Biodiversity Information System.
- Ctenochaetus striatus · Small-bodied acanthurid
- Scaridae · Small-bodied parrotfish
- Hipposcarus longiceps · Large-bodied parrotfish
- Chlorurus sordidus · Small-bodied parrotfish
- Scarus psittacus · Small-bodied parrotfish
- Chlorurus bleekeri · Small-bodied parrotfish
- Monotaxis grandoculis · Large-bodied emperor
- Chordata
- Siganus doliatus · Rabbitfish
- Scarus rivulatus · Small-bodied parrotfish
- Scarus dimidiatus · Small-bodied parrotfish
- Scarus globiceps · Small-bodied parrotfish
Scientific survey records skew toward sampled taxa (molluscs, corals) and do not reflect what you are guaranteed to see on a dive.
Source: OBIS (obis.org), aggregated Darwin Core occurrence records.
Conditions change with the tide and the season. If you have dived this site, share what it was actually like — date, visibility, current, and what you saw. Real, recent reports from divers are exactly what this guide is built to collect.
Send a conditions report ›